Thursday, April 28, 2011

Stop 13: Delaware Coffee Cake

So, here's what happened:  I was at work today reading up on CNN about the schedule of events for the royal wedding tomorrow (I'm a librarian, I have to know these things...) and I saw that there was a section called "gifts from the public."  This immediately made some sort of snorting noise come out of my mouth followed by something along the lines of, "for serious?"  I mean, come on now.  Who is going to buy a gift for the royal couple?  First of all, you're not going to get a thank you note.  There is no way that Will and Kate are going to be hand-addressing envelopes on their honeymoon down under to say that, gosh darn it, they're awfully grateful for that blender you sent.  Secondly, what could they possibly need?  It's the ROYAL wedding.  This isn't some posh to-do in Manhattan, this is it.  There is nothing I could possibly send to the royal couple that they don't have.  Nothing they would actually want at least.  So, I started thinking.  Maybe I should make them a cake.  And who doesn't like a coffee cake?  So off I went...

OK, in all seriousness, that's not what happened at all.  Not the part about the website they have sent up for gifts from the public, that's real.  They're requesting charitable donations.  There's a website about it: http://www.royalweddingcharityfund.org/.  I believe if you give enough, you may receive a rhinoceros in exchange.  Just don't expect a thank you note.  Oh, and did you know that Prince Harry's officially in charge of the gift table?  I read that in People Magazine.  He's getting off pretty easy with this whole donate on the web thing.

Anyway, what really happened was that the humidity broke and the promised thunder storms were a let down, so I decided to make a coffee cake.  That's the whole story.  The one about it being a gift for Wills and Kate was much better.  I imagined they would have been so delighted and called me darling and talked about how pleased they were that I thought of them on their big day.

In the book, Brown talks about how coffee cakes are from way back in the beginning of America.  Regardless of what country the original settlers were originally from, everyone always enjoyed having a bit of a snack with their coffee (except Wills and Kate, they'd probably prefer it with a spot of tea).  Originally, coffee cakes were made from a yeast dough, but the cake recipe is more common and generally what is thought of as coffee cake now.

This recipe is made in a 9X13 pan and has sugar, cinnamon, cocoa powder, cloves and ginger in the filling. The filling calls for walnuts as well, but I didn't put them in.  Why are there no nuts in your coffee cake, Miss Chessman? you ask.  Well, Timmy, I'll tell you why...  My dad doesn't do nuts.  He's not epi-pen allergic, but they've never really agreed with him.  For that reason, we didn't do a lot of nuts as a family when I was growing up.  Because that's how I was raised, I find myself very put off by nuts cooked into things, especially baked goods.  When a cookie or brownie recipe calls for them, I typically leave them out.  This was the same situation; I hope Warren Brown will understand.

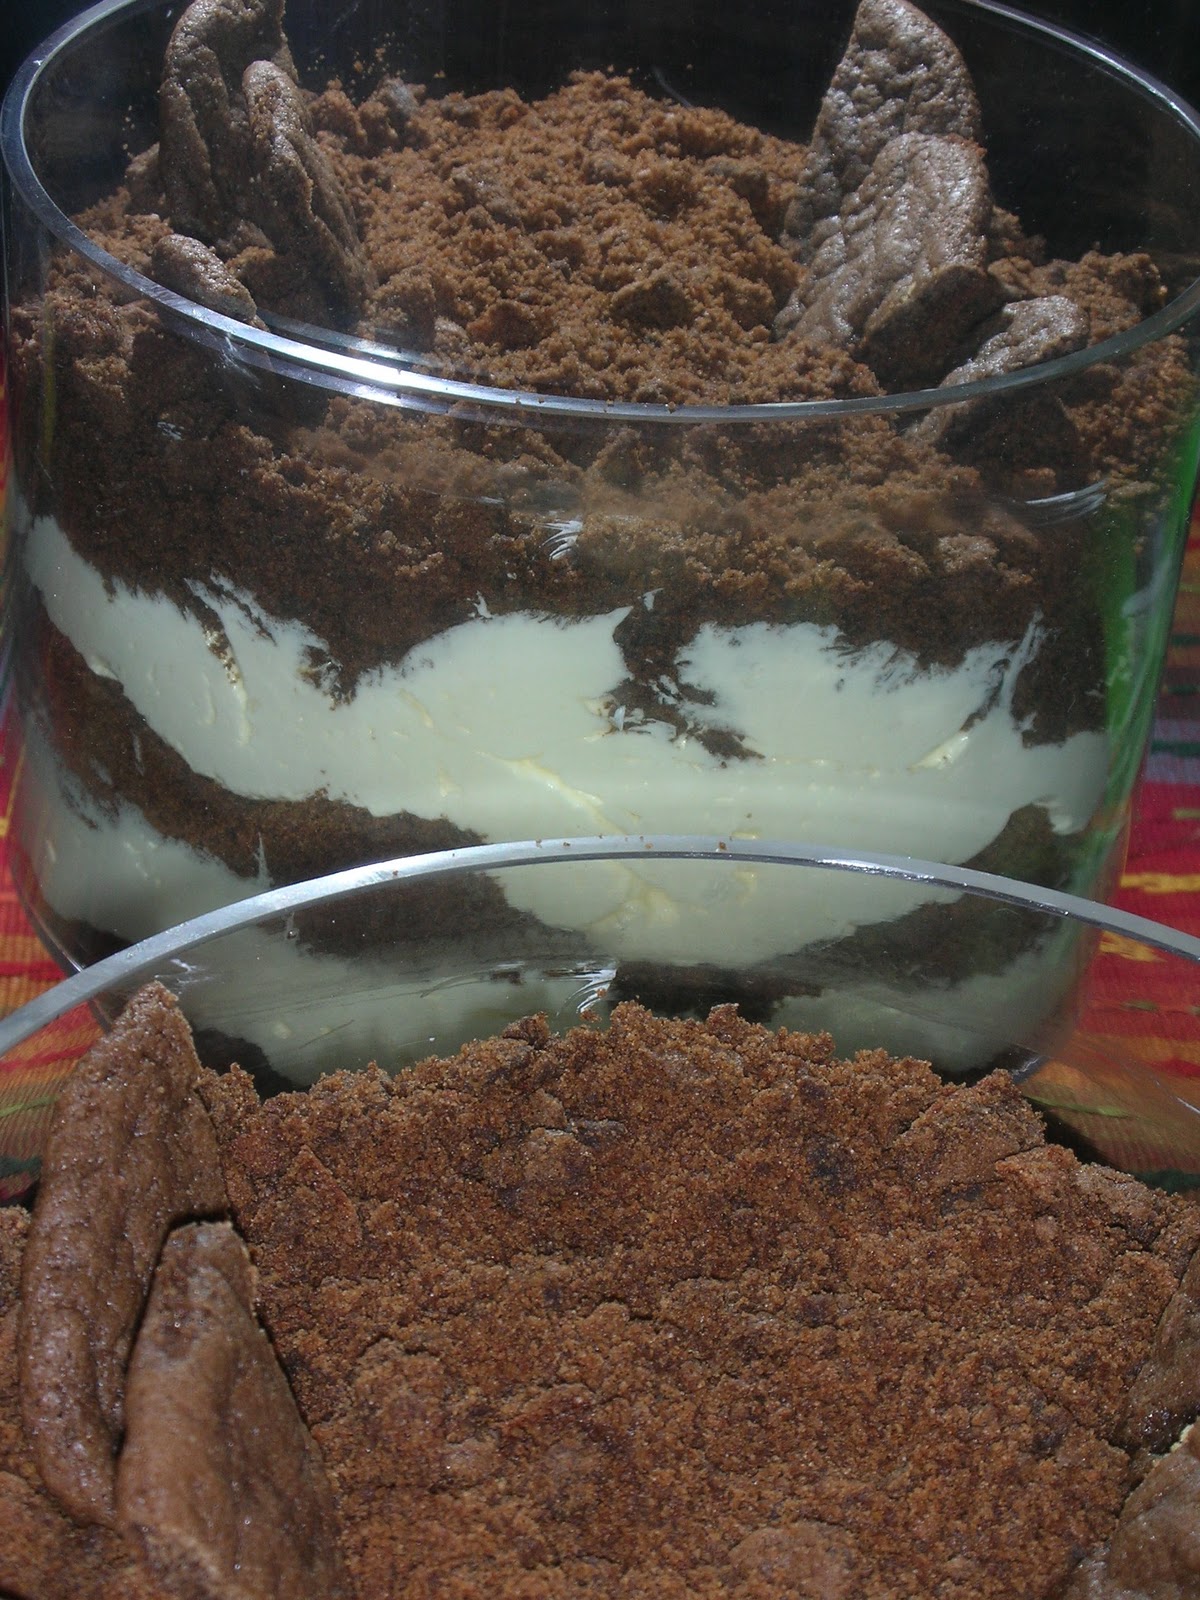
When baking, this cake smelled a bit like what I image heaven would smell like.  I also imagine this is what Westminster Abbey will smell like tomorrow morning.  Or at least, it should.  I am also happy to report that it tastes incredible as well.  Sweet, but not too sweet.  And the middle is all full of gooey goodness where the brown sugar melted and the top is crisp and the cake is light and rich.  This is definitely one to be repeated.  Even if it's not for an occasion like the royal wedding.


Next Stop: New Jersey Old-Fashioned Ice Box Cake

Tuesday, April 26, 2011

Stop 12: Vermont Maple Creme Brulee

For this next recipe, I had to backtrack a bit to Vermont.  The creme brulee recipe was the second I read when I got the book and I was very excited to make it (mostly I was excited about using that little torch), but when I realized that it could be done as easily over Passover, a holiday not known for the delicacy of its desserts), I decided to put it off.

I made the creme brulee on the same day that I made the cheesecake.  The reasons for this were two-fold.  One being that if the cheesecake was going to be an utter disaster, at least I'd have something else to feed my mother's friends, and the other being that unless I was planning on throwing a dinner party anytime soon, I was going to end up with six ramekins of creme brulee, and really, who needs that with bathing suit season looming so near?

Making the recipe itself was pretty easy, much easier than I would have expected.  It's mostly just eggs, some more eggs, some egg yolks, and then some heavy cream to even out the fat content.  It also called for a vanilla bean, and some fancy pouring hot liquid while whisking, which caused me to bring in a sous chef, but once all that was finished, it just went into the oven and baked.  And baked.  And baked some more.

That was the weird part.  Brown said that it should have baked for 40 minutes, or until it didn't jiggle anymore.  Mine were in the oven for a good half hour longer than called for, and I still think they were too jiggly.  Eventually, we pulled them out because, well, come on...

After they came out of the oven they were supposed to cool and then go into the fridge to set.  I seemed to have a thing for 14-part recipes that day.  So, I took my one brulee and left the rest (and some tubinado sugar) in the capable hands of my capable mother.  She served them to her friends and they were met with grand success.  I waited for mine to cool and then also coated it with the turbinado sugar and ate it.  Ironically, I never actually got to use the little torch, I just stuck it under the broiler for a few minutes and it was crisp and crunchy.

Also ironically, I realized, after bite number two of my own personal mini creme brulee, that beyond anything else, creme brulee is a custard and I don't like custard.  It was quite impressive and now most of it is in my fridge.  Oh well, we'll never make a sweet-tooth out of me...

The flavor was quite nice and it was met with approval by all who tried.  I can't say that I noticed the maple flavor though, so that was a bit disappointing...

lined up, just having come out of the oven
crispy turbinado sugar shell
The artsy shot 
the beginning of the end for me...

Next Stop:  Delaware Coffee Cake should be just the thing to cure me from the no-bread Passover blues!

Monday, April 25, 2011

Stop 11: New York Style Cheesecake

As promised, I made the NY cheesecake during Passover.  I figured that since the only thing I would need to change was the graham crackers for the crust, and cookies is one thing that Passover does OK, as long as you're down with macaroons, I could make it work.

I have to admit that while the flavor of this cheesecake was outstanding, the consistency was a bit of a failure.  I can also admit that that is the case because I had some trouble following directions (old Sarah is raring her obstinant head).  The main issue was that I had not read the recipe in advance and did not realize that Brown allots a full eight hours of cooling/chilling time beyond the two hours of baking/resting time.  I was making the cake for a party my mother was having (better her friends eat the full fat than I), and started too late.

The recipe itself was a pretty straightforward cheesecake.  Cream cheese, sour cream, eggs, cookie crust...  I have made two cheesecake before this one and they both have come out just fine with a normal amount of time to sit and hang out in the oven and then chill in the fridge.  For this one, Brown wanted it to bake for one hour, sit in the oven with the door open for another hour, then sit on the counter for four hours and then sit in the fridge for at least four more hours.  The cake was going to take ten hours to bake and the party was about seven hours away.

I figured I would give up and just make something else for the party (not so much an easy feat on Passover), but after about an hour of sitting out in part three, it felt pretty cool to me, so I popped it in the fridge.  I left at that point, but I told my mom to serve it if she thought it seemed to be set.  She said she left it in for another 2-2 1/2 hours and that it seemed fine, but in honestly, it was pretty soupy in the middle.  In the end, I don't think it was the lack of chilling that made it not set up properly, I think it probably didn't actually bake long enough since it was still pretty darn jiggly after the hour with the oven on.  I was in such a rush that I didn't feel like giving it any more time though, and so I ended up suffering in the end.

As I mentioned above, the consistency was a bit of a fail, but the flavor was quite successful.  The recipe called for the seeds of a vanilla bean (which I happened to have a jar of in my cupboard) and lemon zest.  The combination was quite nice, and this from a girl who doesn't like lemon!  Everyone at the party (and at work today) complimented the flavor.

Like the angel food cake, I will not be recreating this one.  I think when it comes time to make a cheesecake again, I'll likely turn to the one I made for my brother's birthday last fall.  It came out well and was much less time consuming.

I don't have great pictures, sorry...

Here is the cake before being baked.

And the kosher-for-Passover cookies I used in lieu of grahams.  They tasted pretty much like sugar...
Oh, here's a fun fact from the cookbook: Did you know that the Graham Cracker was invented in 1829 by Sylvester Graham, a dietary reformer who believed that a high-fiber diet would curb sexual desire?  Explains why there were never any romantic dramas at that kindergarten I used to work at.  I wonder if we can reinstate snack time in middle school...

Next Stop: Vermont Maple Creme Brulee

Monday, April 18, 2011

The Chocolate Class

At the end of last year there was a Groupon for a chocolate class at Chocolee Chocolates in Boston's South End.  My mother purchased two of these Groupons for my brother Dave, who lives in NYC, and is our family's resident chocolatier, and myself.  Four months later, we finally found a time that worked for both of us when there was also space available in the class.

Chocolee Chocolates is run by Lee, a pastry chef who has been working in the industry for thirty years.  Her shop is at 23 Dartmouth Street in the South End and the class was held in the connected kitchen (and actually community soup kitchen) just behind.  Working in a more professional kitchen definitely reminded me of why I need a bigger one.  By the way, here is what it looks like in my closet-kitchen after I wash dishes:
I could use a little more space...
I digress...

The classes are held on Saturdays from 10am-1pm.  We took the green line in and walked through a windstorm to get there, which meant we were late by about 10 minutes, but very ready for chocolate.

The class was a lot of fun.  It seemed intimidating at first because there was no "getting to know you" of the other students and as a teacher, I am used to that kind of thing, but it quickly broke down into friendly conversation once the knives started flying and chocolate started rolling.  There were eight students all together.  

Lee started by giving us an overview and then broke the kitchen down into stations.  There was chocolate-chopping (which is why I now have ENORMOUS muscles), ganache-making, chocolate melting, and ganache rolling for free-form truffles (out of this amazing earl grey ganache that had been made previously).  

Every time a new task was introduced, Lee would stop us from what we were doing and have us gather around to see it.  Then we'd go back to work or take over the new task.  Eventually, the free-form truffles needed to be coated and decorated and the filled candy trays needed to be prepped.  Then we each got to make a tray of filled candies, using either milk or dark chocolate for the shell, and filling them with dark chocolate, cardamon, or hazelnut (which we made in class) ganache.  Then we waited for them to set and got to slam them against a table.  I learned that there is a lot of slamming of trays in chocolate-making.  On the first day of vacation from running a middle school library, AND having frozen to death the night before just to see the Sox go from 3 and 9 to 3 and 10, it was just what I needed.  

In the end we each took home a box of free-form truffles, filled candies from eight trays, and a bag of almond bark.  It was a lot of chocolate.  Which we are slowly chipping away at.

Meanwhile, in the midst of our learning/cooking, Lee and her assistant were also pulling amazing-looking pastries out of the oven.  If you're ever in the neighborhood, I recommend popping your head into her tiny storefront.  It's worth it for the smells alone.  And if you have the opportunity to take the class, I'd recommend that as well; it was a welcome way to spend a chilly Saturday morning.
Free-form truffles and the first batch of filled candies
What the box looked like by the end of the class.
This was the tray I did,  I used the transfers, which was a sheet of plastic with the little hearts on them, and a magnetic tray.  It was a very interesting process.
This is how you get the filled candies (and your agression) out of the molds.
action shot
The trays these were filled in were dusted with edible dust prior to filling.  That's what makes them sparkly and purple.
What was left of the enormous block of dark chocolate we started with.
Lee, me and Dave.


Thursday, April 14, 2011

Stop 10: Pennsylvania Chocolate Chiffon Angel Food Cake


The second recipe from Pennsylvania was a chocolate chiffon angel food cake.  I decided to hold off on making it right after the traditional angel food cake, partially because of the horrible outcome of the original cake, and partially because I was at my parents' and my candy thermometer was at my house.  I had learned my lesson about winging it, it was time to go all out and follow directions.  Of course, about half way home, I realized that the reason I had gone to my parents' house to make the cake in the first place was because I didn't have a bundt pan.  I am happy to announce that I am now the proud owner of a 12 cup bundt pan, purchased for $6.99 at the Star Market near my house (at which I had to stop anyway because I'd forgotten the cream for the recipe).

Moving on...

I was well into the cooking process when I read Brown's notes on the recipe (I have got to start doing that earlier!) and saw that he said that he has wanted to share this recipe for a while, but hadn't because of how complicated it was.  This, of course, made me balk, but I stuck with it.  

You might be asking yourself why this is called a chiffon angel food cake.  I think Brown kind of made up that description on his own, but basically, it's an angel food cake because it has whipped egg whites, and it's a chiffon cake because it doesn't have butter.  In this case though, rather than replacing the butter with oil, like you would in a normal chiffon cake, you replace it with cream.  This doesn't exactly strike me as having the same results, but it seemed to work.

Making the cake started the same way as making the angel cake, by creating a meringue.  This time I boiled the sugar syrup until it was definitely at temperature and it went into the egg whites a lot more easily.  I also let the egg whites beat for far longer to after adding the syrup to let it incorporate than I had the other time.  It worked a lot better this time.  

After that, you remove the meringue from the mixing bowl (put it into another bowl), then you mix the wet ingredients (including TWO cups of heavy cream and FOUR egg yolks!!) together and add the dry ingredients to that.  Then you mix in a third of the meringue.  After that you fold in the rest and put it in the oven to bake and it comes out looking like this:
a.k.a. AWESOME.

Then, after a little bit you flip it out of the pan and it comes out like this:
Again, AWESOME.

After this, we reach one of those magical moments where I get mad at Warren Brown for a lacking of detail.  He says that once the cake is cool and the sugar syrup you've made is cool, you should soak the cake in as much sugar syrup as you'd like.  I don't know how to soak cake.  I don't know how much is too much.  I was confused, but I gave it a shot.  This is what it looked like (the yellow stuff in the middle was a pool of sugar syrup):

Eventually, I let the cake soak overnight, flipping it once so the pool of syrup would end up at the top and not just be pooled at the bottom.

I was taking it to a potluck (more about that below) and thought that it needed a little something special, so I dusted the top with a cocoa powder-powdered sugar mix and then drizzled some chocolate icing that I had leftover from another cake.  Unfortunately, the powder mixture all dissolved in by the time I arrived at the dinner, but I can't imagine it made it taste worse :-)


About the aforementioned potluck...  I have new friends!  And they have a dinner potluck every week and if I bring a cake, they'll give me dinner!  For me, it's a very good deal, since I am a savory, far more than a sweet, and have this affinity for baking.  I need a new outlet for cake-sharing anyway since being the only person to bring in sweets to work feels a bit thankless.

They all liked it and said very nice things.  One dinner attendant commented that it was, "Mmmm, good."  I thought it was a little dry.  But then, I don't like cake.

Next Stop:  The next two stops we're making will be in Vermont for Maple Creme Brulee, and New York for cheesecake.  They'll definitely be made within the next week and a half since they're the only two I can make Passover-friendly and Passover starts on Monday!

I'm also taking a chocolate truffle making class with my brother on Saturday morning.  I'm sure I'll have lots to say about that!

Wednesday, April 13, 2011

Stop 9: Pennsylvania Angel Food Cake

Fun fact: Nobody knows where the angel food cake originated, but the large number of high-sided tube pans found in southeastern Pennsylvania in the 1800s has led historians to believe that the Pennsylvania Dutch developed what we now consider to be the angel food cake.

Fun fact #2: The Pennsylvania Dutch weren't actually Dutch.  They were German.  But when they said they were Deutsch, the meathead English misinterpreted what they said as Dutch, so they're now known as the Pennsylvania Dutch.

Moving on...

Since the cake for Pennsylvania is the angel food cake, I had to face a fact of my life that I don't like to admit too often.  I am afraid of meringue.  Honestly, the stuff scares the crap out of me and the idea of cooking with them in any form that isn't "whip, add sugar, put on baking sheet, bake" is kind of intimidating.  

So here's the deal.  I made the angel food cake.  I used Brown's funky recipe that involved basically making an Italian meringue (pouring boiling hot sugar syrup into whipped eggs).  I guess this way the egg whites don't overexpand while baking and it maintains the cloud-like texture.  I followed all the directions to the best of my ability and I made the cake....

Here are my recommendations for making an angel food cake from scratch: 
1. Don't make it from scratch, buy a box, add the water and eggs and go with it.
2. If it says to boil the sugar syrup to 245 degrees, actually boil the sugar syrup to 245 degrees.  Don't just pretend you can tell how hot sugar syrup is without a candy thermometer.  You can't.
3. Continue whipping the egg whites on high speed for quite a while after you add the sugar syrup to make sure they get and stay all fluffy.  

If you follow these three suggestions, your cake will not come out like my cake, which was approximately 2" tall.  

Here are some pictures of my sad, sad angel food cake.


I decided that because of the disastrous outcome of the angel food cake, combined with the fact that I had to use six eggs to make it, and the fact that I was going to make another version of an angel food cake right away, AND that I don't even like angel food cake - I decided not to make another one.  I brought the weird one to work and it was eaten kind of like cotton candy.

Next Stop: We're staying in Pennsylvania with one of Brown's own recipes.  A spin on angel food cake: Chocolate Chiffon Angel Food Cake.

Monday, April 4, 2011

Stop 8: Arkansas Dirt Cake

I am not from the south and have not spent a lot of time in the south.  Therefore, my knowledge of most southern recipes comes from Paula Deen.  Because of this, I assume all southern recipes have a lot of butter in them.  In this case, I was right.  

In the book, Warren Brown says that this is a recipe that is normally made from Oreo cookies and instant pudding.  But, he says, this is as easy, and totally worth it, to make it all from scratch.  That last part is a lie.  

Here's what the recipe calls for: a bunch of cookies all ground up to look like dirt (get it?), some cream cheese, some butter, some powdered sugar, oh, AND some pastry cream (yes, like the stuff that's in cream puffs), AND an entire recipe of whole-egg buttercream.  In other words, this recipe is hell.  

Let me just start with some numbers for you.  To make this dirt pie, I used 5 1/2 sticks of butter and 11 eggs.  That's like $27 right there, without adding in the sugar and flour and sugar and cocoa powder and the rest of the sugar.  Instant pudding and Oreos - together that's like $4.49, right?

Anyway, I started by making the pastry cream since I knew it was going to need to set.  Pastry cream is a pain to make, but I'm sure I'll go into more detail when I make the Boston Cream Pie (coming up in May).  Next I made the chocolate cookies.  These cookies were amazing.  Super easy to make and really tasty.  Too bad I had to grind em all up until they had the consistency of DIRT.  Then I go to make the whole-egg buttercream.  Brown has a way of tricking you into doing things that are way above your skill level.  Its like he doesn't let on that it's a difficult recipe until you have a handful of egg yolks in one hand and a pot of boiling sugar syrup on the stove.  And at that point it's too late.  My favorite part of this recipe was this, "Meanwhile, whip the egg whites on high speed to stiff peaks in the bowl of a standing mixer fitted with the wire whip attachment.  Time everything so that the sugar syrup reaches 250F at about the same time the egg whites form stiff peaks."  Was he kidding?  How am I supposed to know how long it's going to take for sugar syrup to reach 250 degrees?  Or for egg whites to whip up for that matter.  This recipe made me a little mad (in case you couldn't tell).

So, once I had everything done and had been cooking for 17 hours and needed a nap, that's when I got to start assembling the actual cake.  
my beautiful cookies that were about to become dirt
Pastry cream.  It didn't really set right, but I figured it would be ok since it was going into another recipe.
Full-recipe of whole-egg buttercream.
So, the pastry cream, buttercream, cream cheese, butter and powdered sugar got mixed together and made the filling.  I ended up using my trifle dish because I seem to have misplaced (read broken) all of my pie dishes, which is what was called for, and because I'd never used it before, so why not?

I layered the cookies and filling and took it off to it's party to be the centerpiece and be appropriately appreciated...


("artistic" mirror shot)
Which is was!

Matt, the birthday boy, with his dirt.

Dirt on fire...

mmm, yummy dirt
By the way, I am well aware of the fact that Arkansas has no geographic proximity to NewYork.  That's not my fault.  Matt chose this cake from a variety of options he was presented with.  We will be getting back on track immediately.

Next Stop: New York Cheesecake!  I just need to find an occasion for which to make it now.  This is getting expensive!

Friday, April 1, 2011

Stop 7: New York Red Velvet Cake

Red Velvet Cake is one of the desserts Warren Brown designates as being from New York (the other is cheesecake).  I was surprised to read this since I always associated red velvet with the south.  In his explanation, Brown says that there is a well-known debate whether the cake originated in the 1920's in NYC or before that in the South.  Brown gives it to NYC because of a story in which a woman had to pay $100 to get the recipe from the Waldorf Astoria Hotel and was so outraged over it that she then spread around the recipe to as many people as possible - for free.  

I was also under the impression that I didn't like red velvet cake.  I think what I've discovered is that I didn't like other people's red velvet cake.  I LIKE this red velvet cake.  

A few things to mention before we get to the pictures.

1. This cake recipe has surprisingly little chocolate in it.  With only two tablespoons of cocoa powder in the whole batter, it's a very small percentage.  That being said, I am surprised by how much the flavor comes through.  There's a hint of chocolate that almost makes you do a double take to try to figure out what the surprise flavor is.

2. Brown says that in most of his recipes he likes to keep things as natural as possible, but in this one, there is simply no substitute for artificial food dye.  He says he's tried all the natural dyes he could find, but that none of them do the job, and just to leave it out if you care less about color than chemicals.  I will say that using that Wilton's food color sure did the trick.  Check out the color of the batter and the baked cake below.

3. This cake was made with the same old-fashioned milk buttercream that went on the election cakes in Connecticut.  Brown says that while cream cheese frosting is the icing commonly associated with red velvet cake, this is more likely what they used back in the day.  Again, the icing whipped up well and came together nicely.  I even piped with it this time and it was lovely.

4. Speaking of piping, I think I am finally learning that less is more when it comes to cakes.  The pictures below, with just a few red M&Ms as decoration, were round two of decorating.  The first try involved scrolls on the bottom and florettes on the top.  It was just too much.  The icing lays so smoothly that it seemed like a waste not to take advantage of it and the embellishment seemed over-the-top.

5. In the book, Brown shows pictures of red velvet cupcakes.  I decided to do a cake because, well, quite honestly, I made cupcakes last and wanted to do something different.  This cake is being brought to work and given to a colleague who has been having a rough time of it and just completed a daunting task.  I hope she'll at least share a piece or two.

Pictures, pictures, pictures!
This is the batter after half an ounce of wilton Spiderman Red and half a tube of Easter egg dye.


See, less is more.

This is my artistic shot.  Insert oohs and ahhs here.
It was cut at work and met with great satisfaction.  Here are what the pieces looked like.
Next Stop: We are jumping to Arkansas for a homemade dirt cake.  This was as per the request of a birthday boy.  From the recipe, this cake's going to be a real pain in the butt, but I'm sure it'll be worth it.